In this article, we're focussing on blisters on the outside of the little toe. Oh the pain, when you have to keep walking - is there anything worse? If a blistered little toe is a common occurrence for you, it's time to stop putting up with it. Let's start by having a good look at the shape of your toe, then your shoes. A pinky toe blister can occur in shoes that are too tight, too narrow, too loose or too rigid. But it doesn't stop there. There are some great preventions like cushions and patches for even the worse recurring pinky toe blisters. But first, read this article if your pinky toe blister is under or between your toes.
In this article, we'll cover what I know to be the best pinky toe blister prevention strategies for those blisters on the outside of your little toe. They are:
- Shoe fit
- Taping
- Gel toe protectors for small toes
- ENGO Blister Patches for pinky toe blisters
- Surgery
Fun fact: Pinky toe blisters are THE most common blister location on the whole foot!
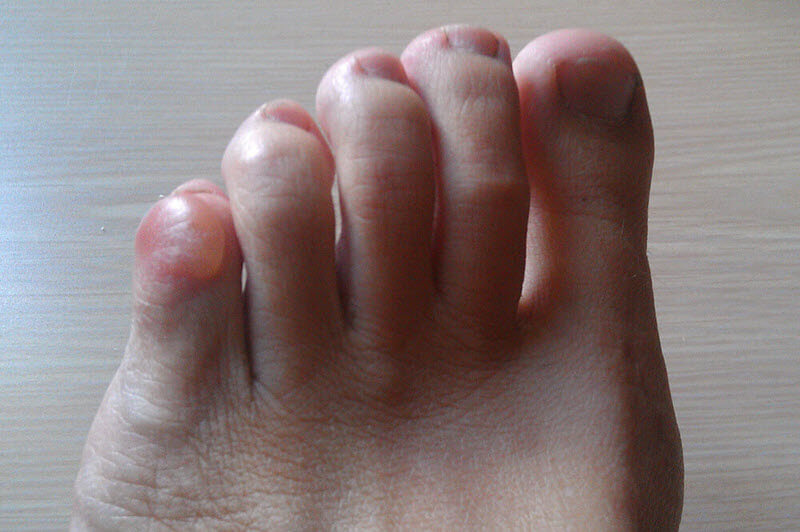
Intact outer pinky toe blister
What Can Cause a Pinky Toe Blister?
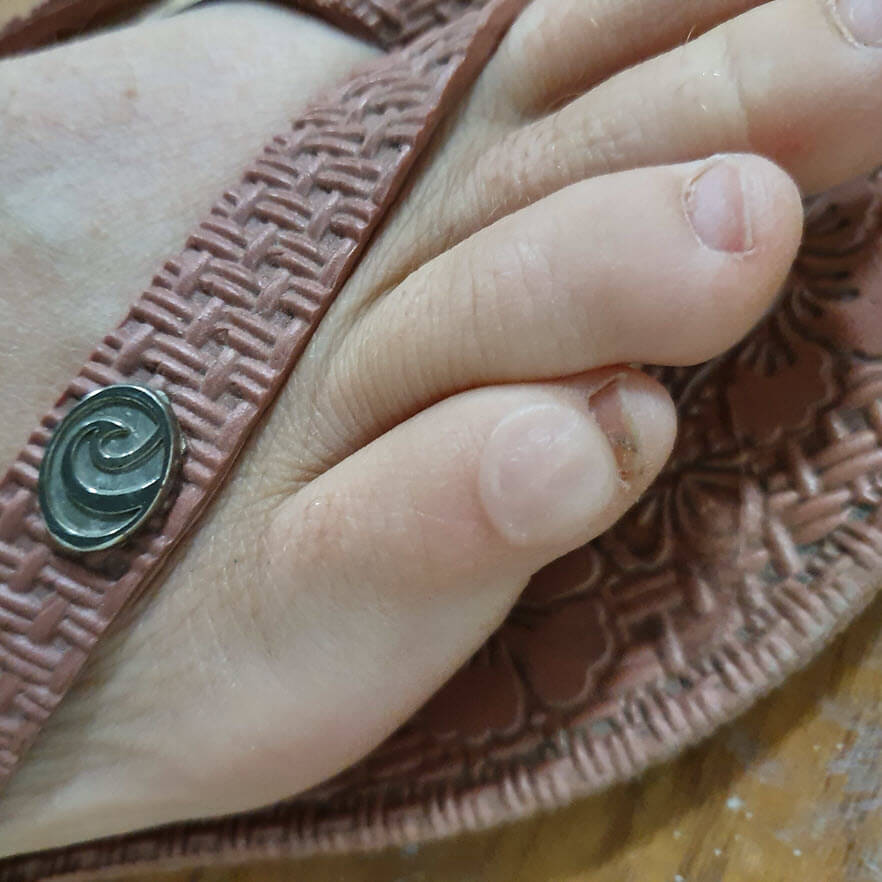
The dominant cause of outside pinky toe blisters is a curly 5th toe. In fact, we have a name for these toes - adductovarus. Have a look at your little finger - hold it out straight. Next, bend it. See how there are two joints that stick out? Now grab it with your other hand and twist it so your fingernail goes under your 4th finger. Take a look at that joint sticking right out. Imagine having to wear a shoe on your hand! That joint is going to cop it! Above all, the skin overlying the prominent joint is going to cop it, being stuck between a rock and a hard place (the toe bone and your shoe upper - ouch!).
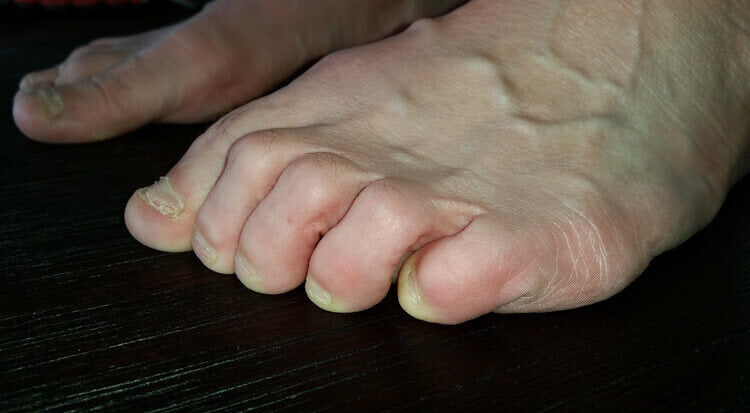
A curly pinky toe (adductovarus) is commonly blistere
How To Treat and Prevent Blisters On Your Pinky Toe
If I had a dollar for every time I heard this, I'd have a yacht by now!
My pinky toe hurts when my shoe presses on it. How can I stop this happening?
1) Shoe-fit and shoe properties
If you’re getting pinky toe pain from shoes, check the following four things regarding shoe fit. Shoe fit is paramount for blisters on the outside of the little toe.
Toebox
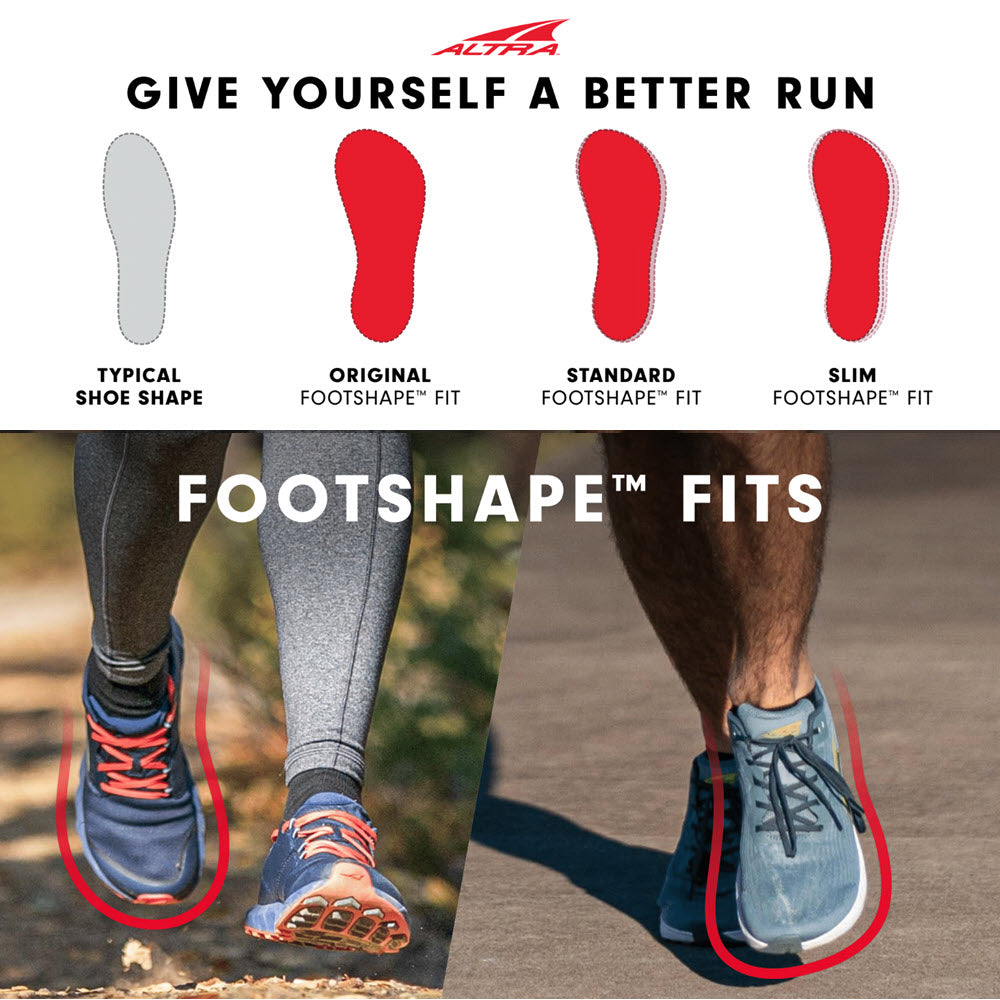
The toe box of your shoe simply must accommodate your toes, in depth and width. You can’t expect to be pain-free or blister-free without this important aspect of shoe-fit being met. If you’re not sure if your toebox is too narrow, here's what you can do. First, stand barefoot on a piece of paper. Then trace around your foot, so you have an outline of your foot on the paper. Finally, pull the insole out of your shoe and put it on your tracing. Does your insole cover up all the pen marks? If you can see pen, this is where your shoe is too narrow. Get wider shoes.
Heel Position
Your heel simply must be sitting right to the back of your shoe, at all times. This is where it's meant to be. If your shoes are too big or too loose, it allows your foot to slide forward. In other words, your toes are jamming into a narrower part of the shoe. To prevent this, tie your laces firmly to keep your heel all the way back (see video below). Most importantly, wear shoes with some type of "fastening". For example, laces, buckles or velcro. Then tighten them to keep your foot in the right position. Elastic can help initially, but as it degrades, it becomes less effective.
Upper Flexibility
Obviously, shoes with a more flexible upper in the region of the little toe will help. If you can make a change, do. But if you can't, all is not lost. I’ll show you how to cushion your toe regardless (coming up).
Seams
Watch for seams in the shoe’s upper, right where the little toe is. They are common and will make the situation worse. It's difficult to stretch a shoe where there is a seam, because you risk breaking the thread. It's best to avoid them altogether.
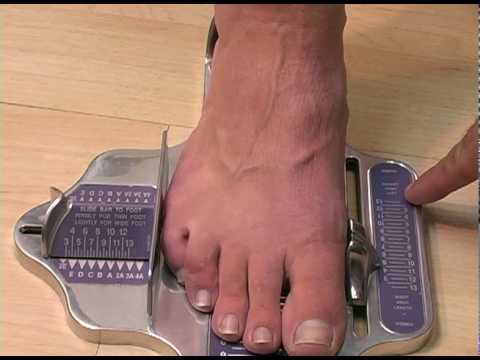
The importance of shoe-fit cannot be overstated in preventing little toe blisters
Unfortunately, even with all of these aspects of shoe-fit being met, outer pinky toe pain when walking is still possible when your toe is curly. Why? Because we haven’t fixed the root of the problem – the curly toe. That can only truly be fixed by surgery. But there are three more things you can try - to address the pressure, friction and shear that contribute to blisters.
2) Pre-Taping
A simple protective layer in the form of tape (I've used Fixomull Stretch in the video below), moleskin or an island dressing (eg: Bandaid) might be all you need to help prevent and relieve pinky toe pain, blistering and swelling. However, it won't be enough for everyone on every occasion. It's worth a try though. If that’s not enough, you can get a lot better cushioning with our next strategy, gel toe protectors.
3) Gel Toe Protectors (Sleeves and Caps)
Gel toe protectors are great for pinky toe blisters two reasons:
- They cushion the prominent joints, therefore reduce pressure on the joint.
- The gel material is excellent at absorbing shear. Shear forces cause blisters. So, the more shear occuring within the gel material itself, the less shear occurring within the skin of your little toe.
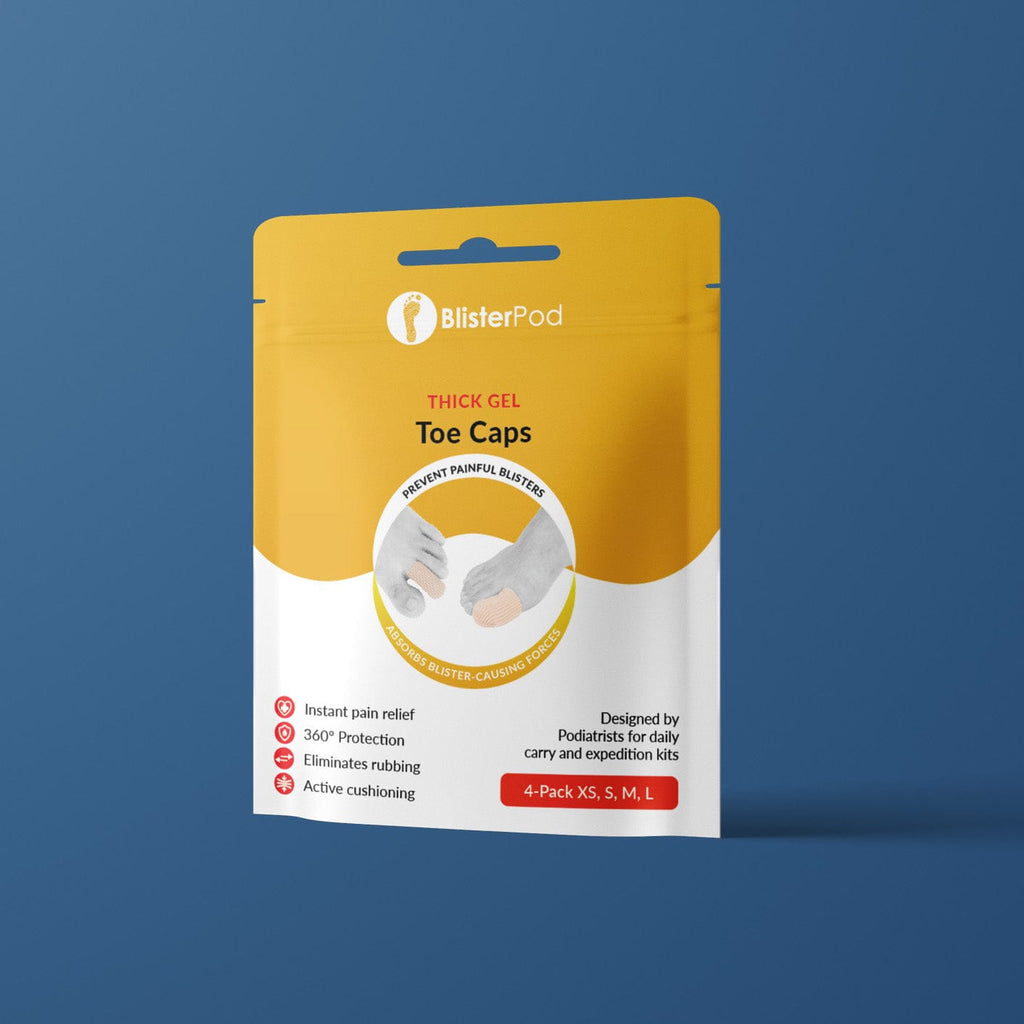
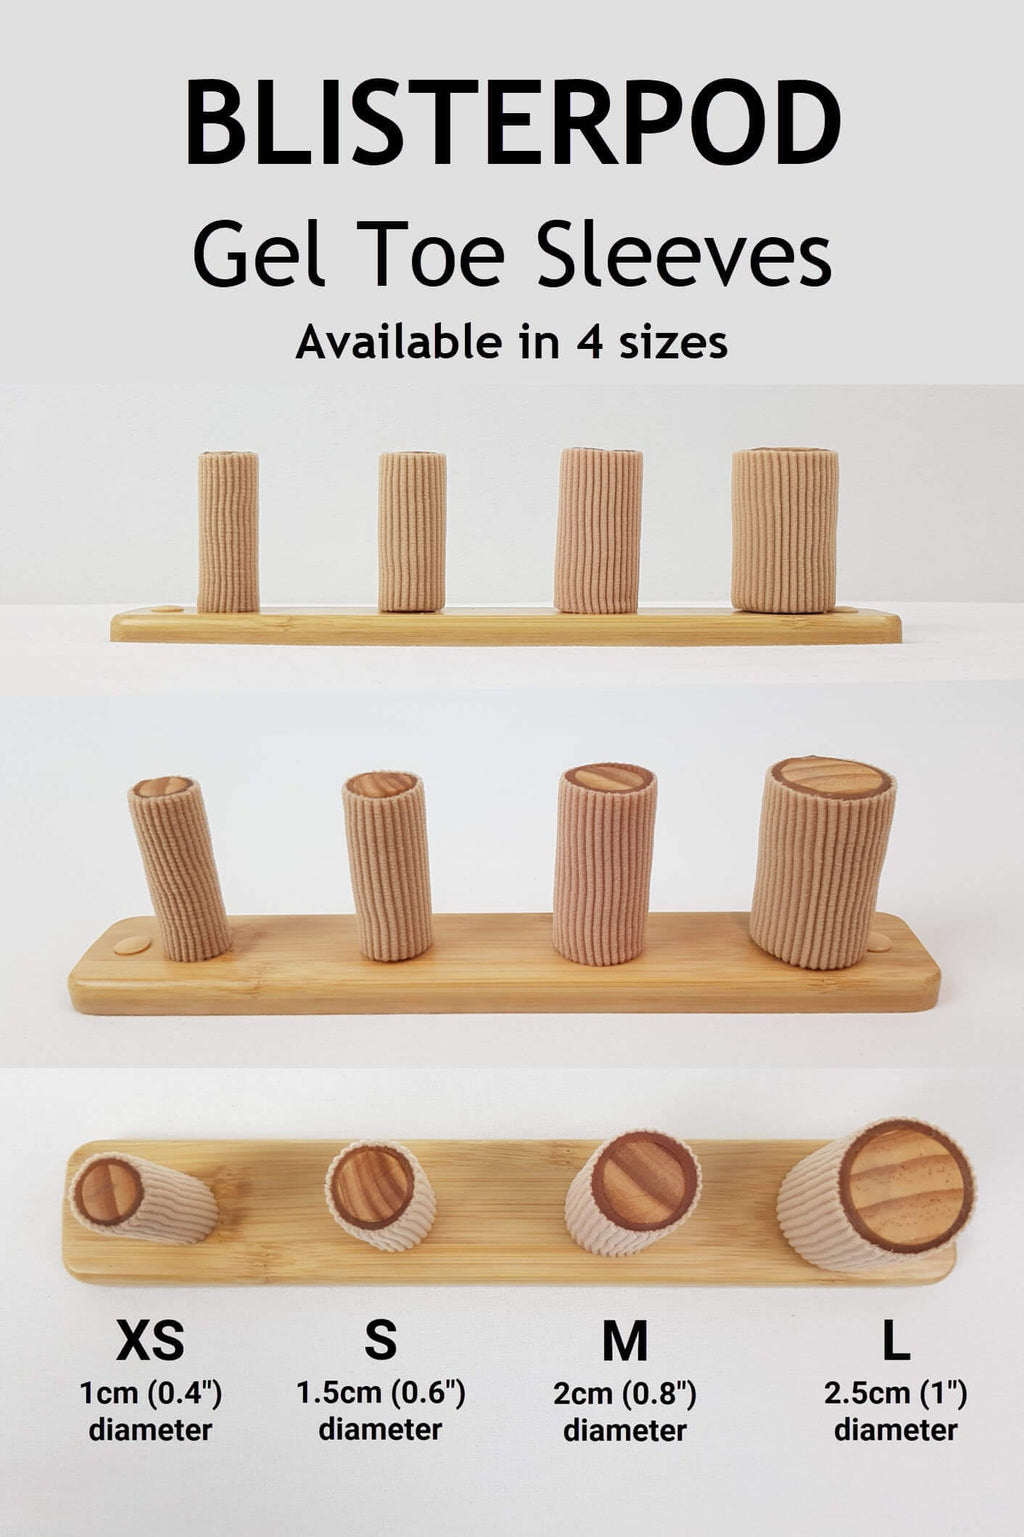
You can grab the BlisterPod Gel Toe Protector Sleeves and Caps from our online store. They're a deluxe double thickness gel toe cover - in other words, the ultimate in toe cushioning and protection.
The gel material of gel toe sleeves and gel toe caps is excellent at absorbing the forces that cause blisters. You simply cannot get better. Watch me demonstrate in this video a little-used technique that:
- Firstly, prevents the protector from bunching up between your toes; and
- Secondly, stops it from slipping off.
A word of caution with gel toe protectors - only use them on intact and unblistered skin. They are a blister PREVENTION, not treatment. If your skin is weakened and weepy, the skin will become soggy and macerated.
4) ENGO Blister Patch
An ENGO Patch is a great way to cover any rough seams on the internal lining of your shoe. It's also the best way there is to reduce friction levels. Consider an ENGO Blister Patch when (this is important):
- You don’t think your little toe is curly but you’re still getting blisters.
- You don't have enough room in your shoe for a gel toe protector.
- If maceration is an issue.
- If you already have a blister.
It can be tricky to get all the way down to the end of your toebox for this blister location. Rather than cut your shoe in half like I have for the below demonstration? you’ll need to take your laces right out to get good access down there. For tips on how to apply ENGO Patches to your shoes, read this how-to guide or watch this video of me applying ENGO Patches to all areas of the shoe.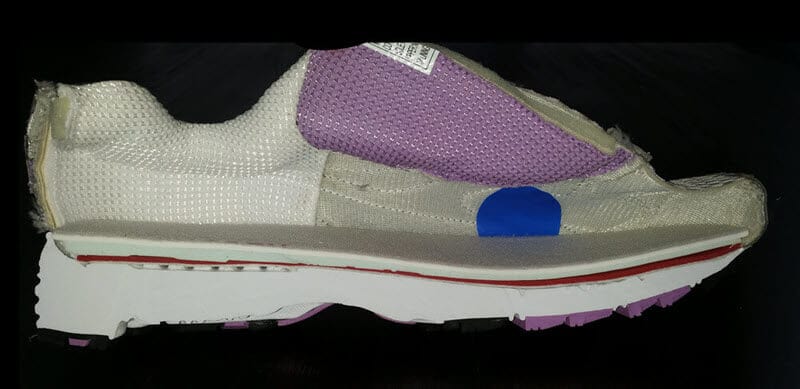 Engo blister patch protects from rough seams ENGO Patch placement on shoe upper for little toe protection
Also, be aware that if you’re wearing shoes with mesh uppers, water can get in from the outside, compromise the adhesive and the patch may dislodge. Read more about the pros and cons of ENGO Patches here.
Check out the range of ENGO Blister Patches in our store. The ENGO 6-Pack is ideal for toe blisters. Use either the large or small ovals from this pack, depending on the size of the coverage you need.
5) Surgery
Of course, if your little toe is bent and this is the cause of recurring blistering on the outside of the toe, surgically straightening the toe is one solution. It may seem extreme, and you wouldn’t have toe surgery willy-nilly. But I’ve seen toes where this is a good option. Consider toe surgery if:
- Compromising on shoe fit is not an option (perhaps your work requires it, or it’s just a personal choice).
- There’s no room available for the gel toe protectors.
- You can’t reach your feet to tape or put the gel toe protectors on.
- Your work or active lifestyle requires significant relief and blistering recurs in spite of your best efforts with all of the above
- Your health allows it
Broken Pinky Toe?
The pinky toe is the most commonly broken toe. Fracturing a toe bone or dislocating one of the joints can lead to a permanently misshapen toe that is susceptible to blister formation. So it makes sense that you do what you can to avoid this.
Most people I see who think they have broken their pinky toe have tried to tape it to the next toe. The problem is, it's quite painful to do so, what with all the inflammation and swelling. The tape ends up being a hindrance whilst serving no benefit at all. Most fractures are small (not right through the bone), so the intact bone prohibits the toe from bending into any unusual positions.
Dislocation
The only time you might choose to tape your pinky toe to the next one is if it has dislocated. Dislocation usually happens without a bone break. Dislocating your pinky toe mean you've stretched or maybe snapped the ligaments that are meant to be holding one bone in alignment with the next. Your toe might be pointing in the wrong direction and give you quite a shock!
Once you've manually pulled the toe straight again, you need to ensure the toe sits straight while the damaged ligaments heal and get back to full strength. It would be best to get some professional advice and treatment on this because the toe is in a vulnerable state and taping the toe in the wrong position or the wrong way could actually cause the toe to change shape. A period of non-weightbearing or semi-weightbearing with crutches is ideal to eliminate the potentially destabilizing forces of gait on your injured pinky toe.
Wrapping Up
Pinky toe blisters often deroof and can become very nasty, very quickly. Have you tried any of these options? If you have but it hasn't worked, try the next one - I've ranked these in order of effectiveness. You can use combinations of these strategies too. Which will you choose to allow you to walk and run pinky toe pain-free.
